Making your own shoe insoles at home can be a cost-effective and fun way to customize your shoes for maximum comfort and support. Here are some steps to make your own DIY shoe insoles:
Materials:
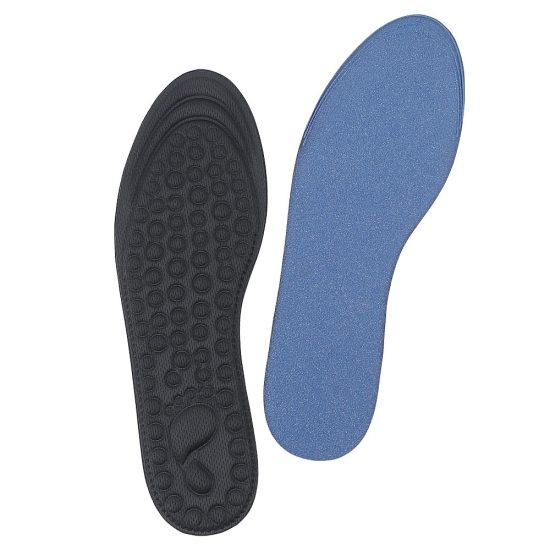
- Foam sheets or felt
- Scissors
- Marker
- Glue
- Measuring tape
Instructions:
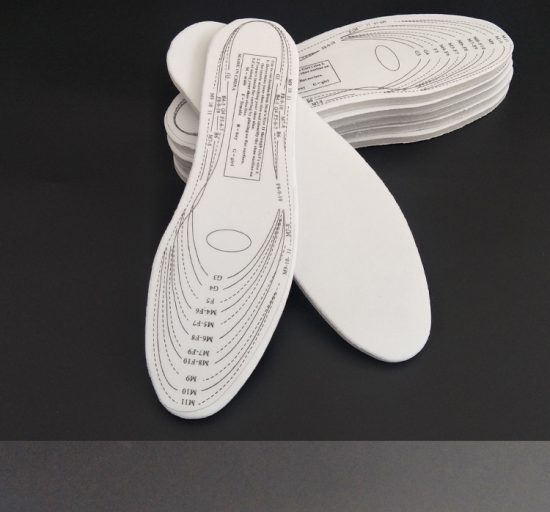
- Measure the length and width of the inside of your shoe to determine the size of your insoles.
- Trace the outline of your shoe onto a foam sheet or felt, making sure to leave enough space around the edge for trimming.
- Cut out the insole shape using scissors.
- Try on the insoles in your shoes to ensure they fit correctly.
- If needed, trim the insoles to fit your shoes more precisely.
- Apply glue to the bottom of the insoles and press them firmly into the shoe.
- Allow the glue to dry completely before wearing the shoes.
Tips:
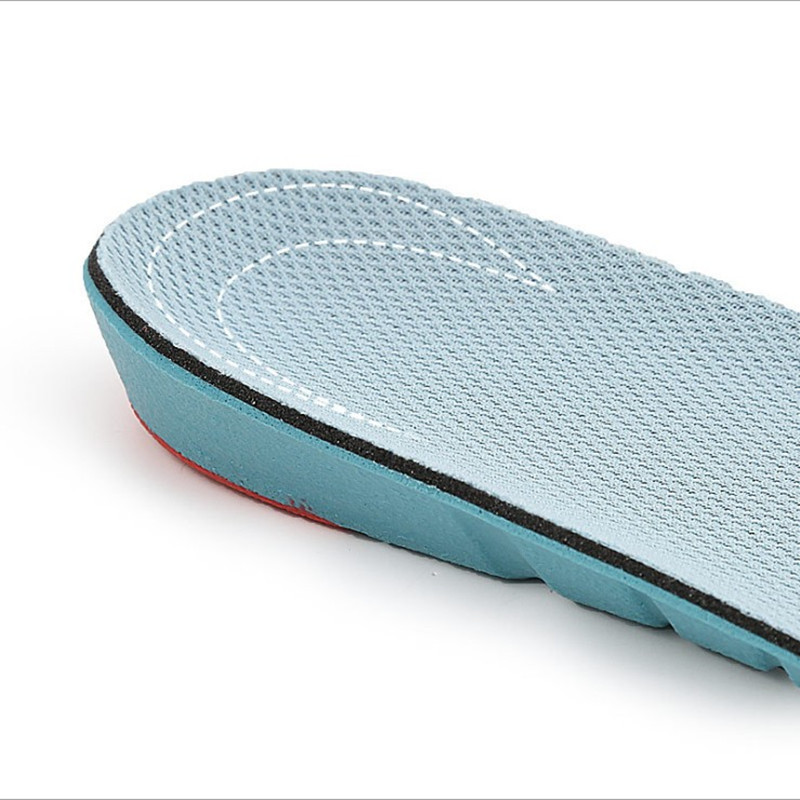
- Use thicker foam sheets for added cushioning and support.
- Try different materials such as cork or memory foam for added comfort.
- Use a marker to trace your foot onto the foam sheet to create a custom-fit insole.
While making your own DIY shoe insoles can be a fun and rewarding project, it’s important to note that they may not provide the same level of support and durability as professionally-made insoles. If you have foot problems or require specialized support, it’s best to consult with a podiatrist or other healthcare professional before attempting to make your own insoles.